Efficient Sprint Task Management
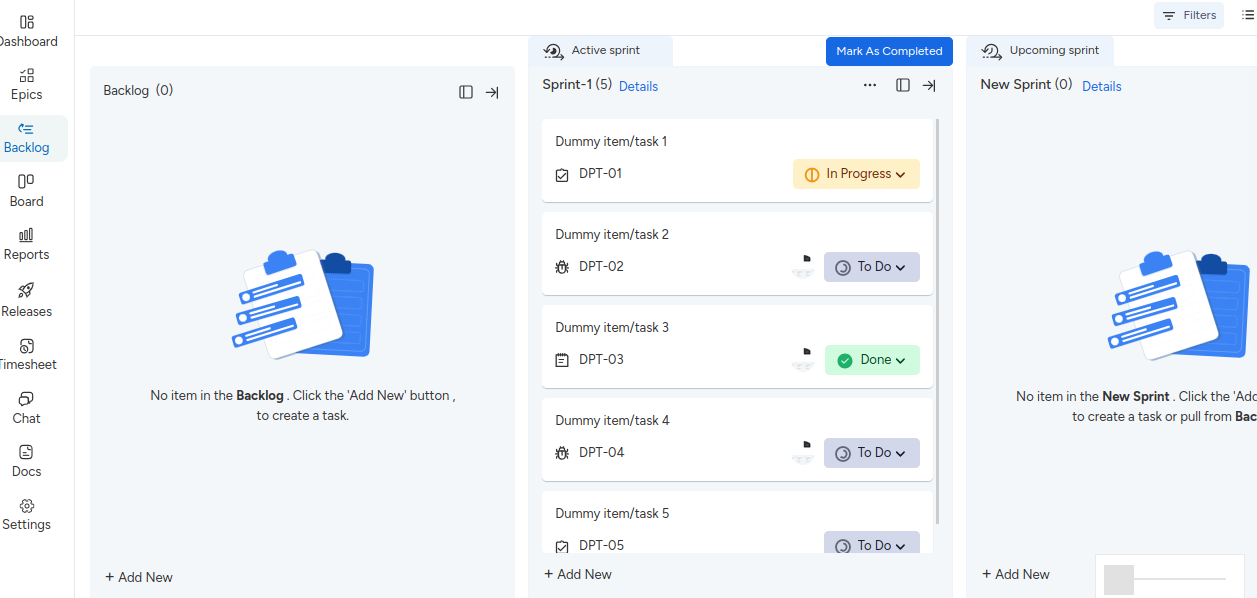
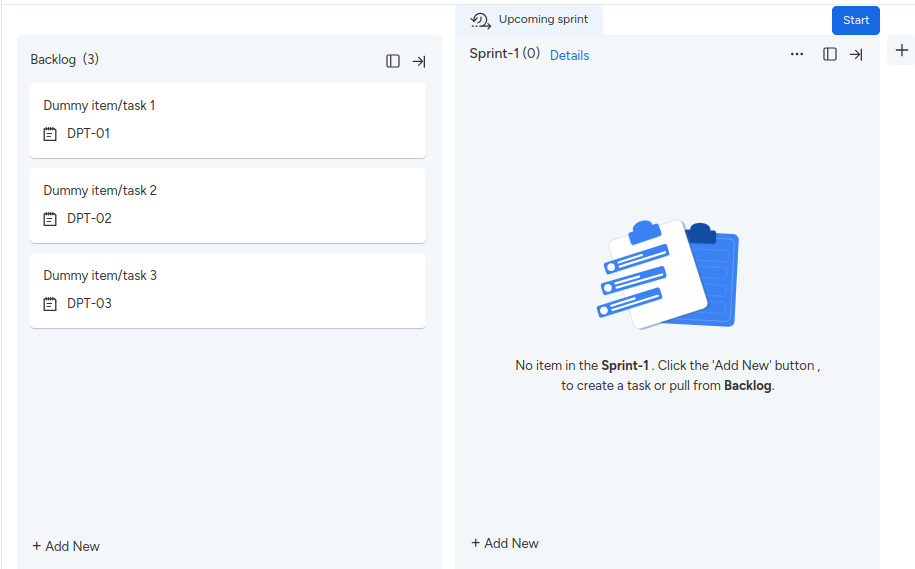
Once you’ve populated your backlog with tasks, the next step is to initiate a sprint using those tasks. To begin the sprint, simply transfer the desired tasks from the backlog into the sprint section. This can be easily accomplished by using the drag-and-drop functionality.
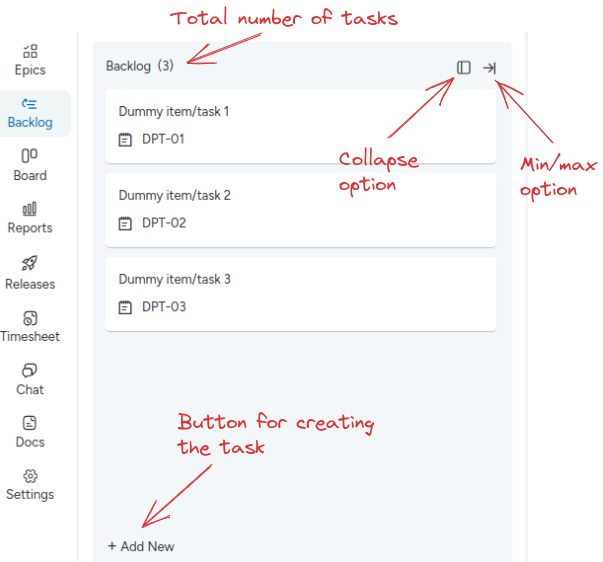
Additionally, if you need to introduce a new task within the ongoing sprint, you can do so seamlessly by utilizing the “+Add new task” button.
Creating Sprints
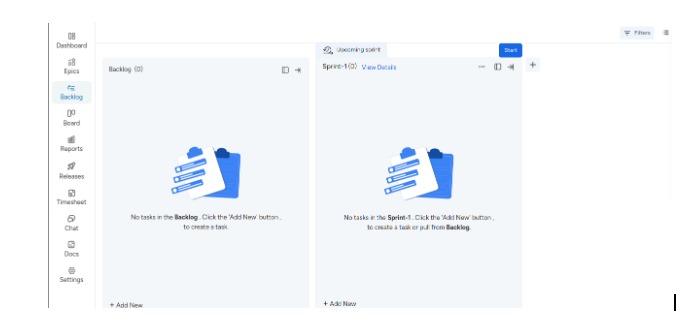
Upon accessing the platform, you’ll discover an initial sprint labeled as “Sprint-1.” The default status for this sprint is “Upcoming” since it hasn’t commenced yet. To initiate a new sprint, simply click on the “+” icon.
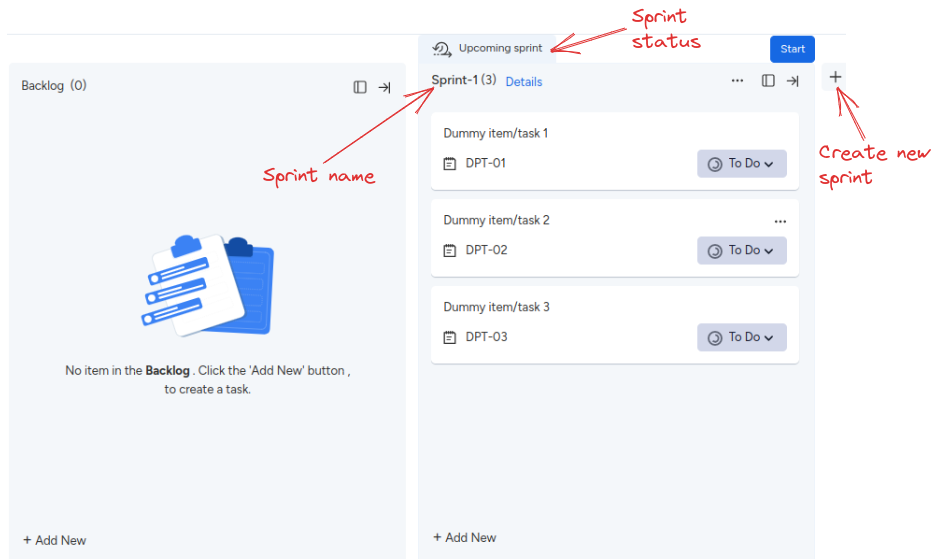
After successfully generating a new sprint, it will be displayed on the right-hand side of the original sprint, effectively organizing the sprints chronologically.
Modifying Sprints
You have the ability to fine-tune the details of a sprint by making changes to its name, adjusting its start and due dates, and specifying how long the sprint will last. All of these adjustments can be easily carried out within the sprint edit panel. To comprehensively explore these functions, let’s take a closer look at each one:
Step 1 : Click on the “Edit Sprint” button.

Step 2 : Within the sprint edit panel, you can rename the sprint, set its start and due dates, and also determine the sprint’s duration according to your project needs.
Viewing Sprint Details
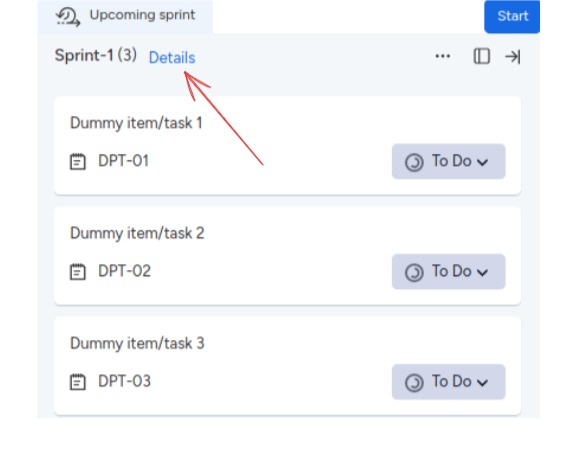
To access in-depth information about a sprint, simply click on the “Detail” text button.
- Basic detail of sprint
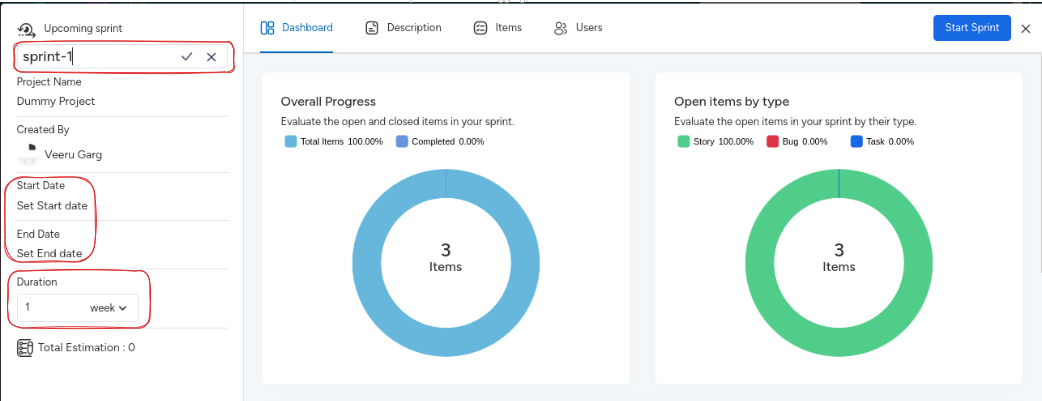
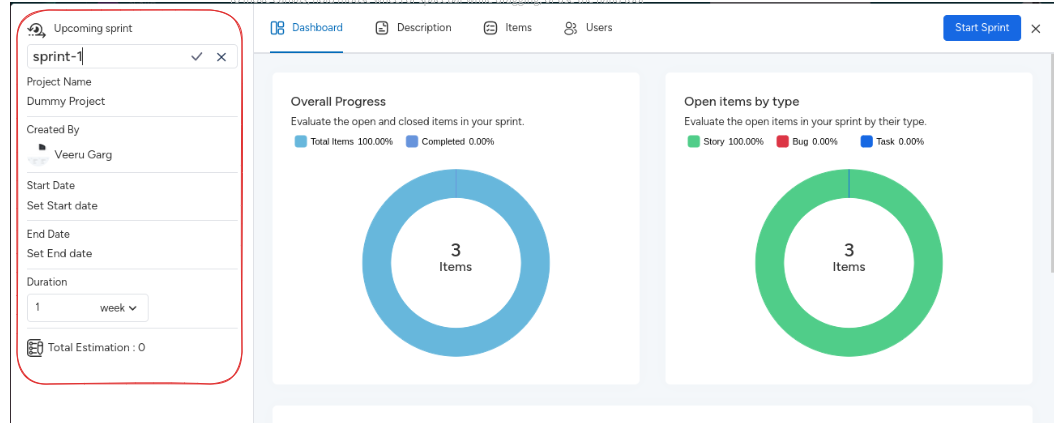
Within the left section of the panel, you’ll find essential details about the sprint, including its status, sprint name, project name, sprint owner, start and end dates, sprint duration, and the total estimation for the sprint.
- Sprint Dashboard
Utilizing the sprint dashboard graph, you can gain a comprehensive overview of the sprint’s progress. This dashboard features four distinct types of graphs:
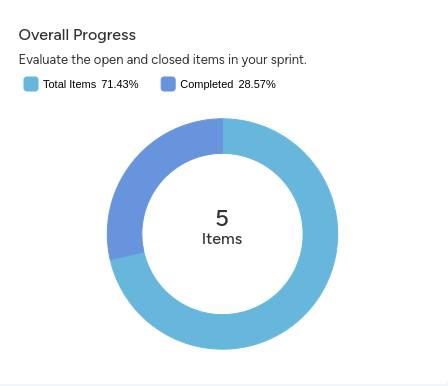
1. Overall progress
This graph provides insights into the total number of items present within the sprint and how many have been completed. It even allows you to assess item counts in precise percentages.
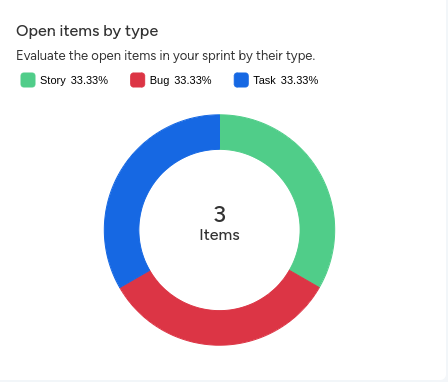
2. Open items by Type
In this graph, you’ll observe the total count of items categorized by issue type, such as Story, Bug, and Task. The graph also displays these counts in percentage form, offering a clear breakdown of the sprint’s composition.
3. Open Items
4. Start activity
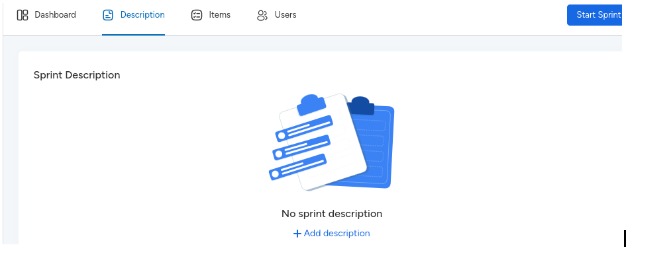
- Sprint description
In this section you can add the sprint description.
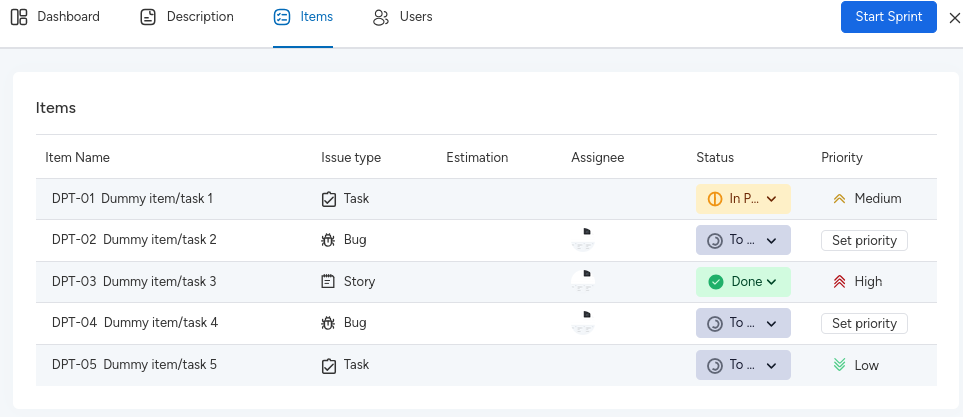
- Sprint Items
Within this segment, you have the ability to review the items associated with the sprint. Here, you’ll find details like the item’s name, its issue type, estimated effort, assigned team member, current status, and priority level. Beyond just viewing, you also possess the capability to make modifications to these item specifics. This encompasses actions such as renaming the item, adjusting its issue type, assigning an estimated effort, designating an assignee, updating its status, and setting its priority.
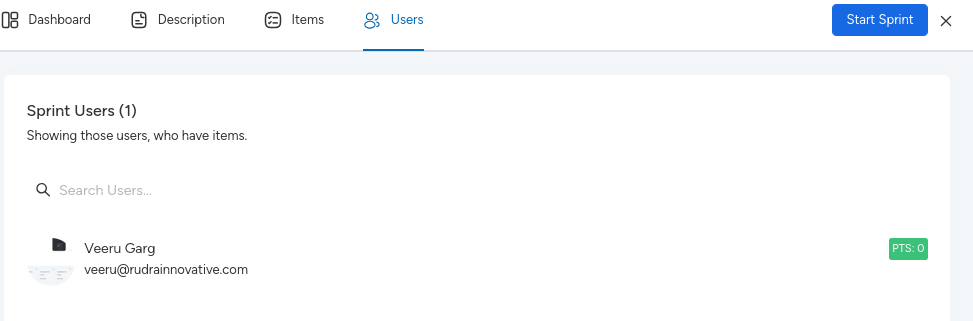
- Sprint Users
In this section, you’ll have access to a thorough list containing all project-associated users. Please note that only users with assigned tasks will be displayed on this screen. Users who currently have no tasks assigned to them will not appear in this list.
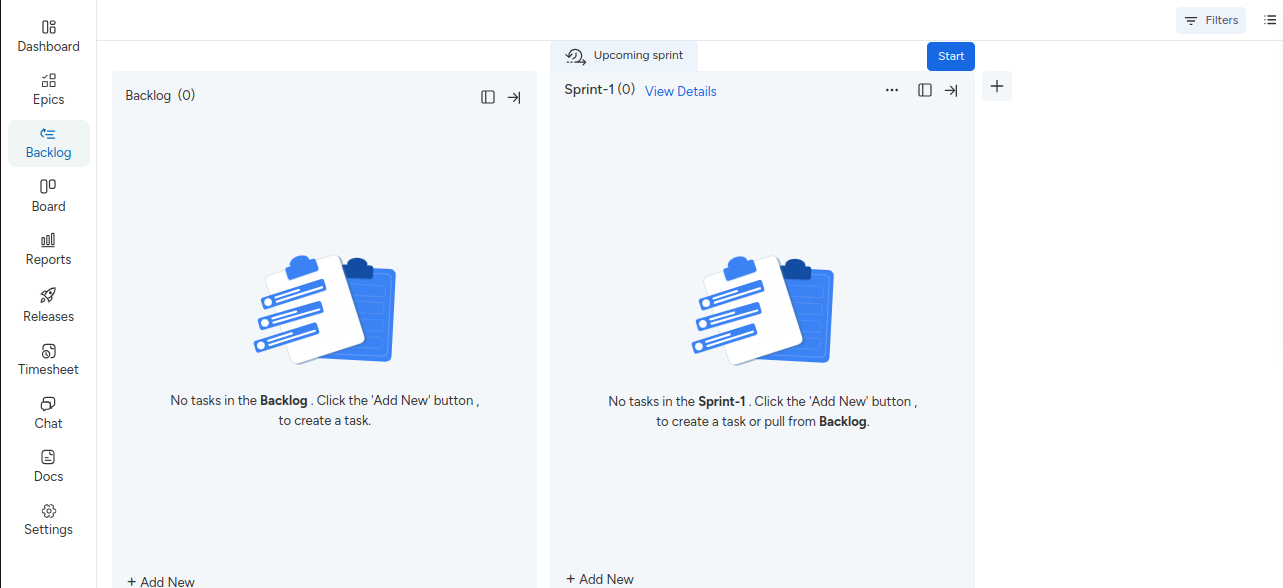
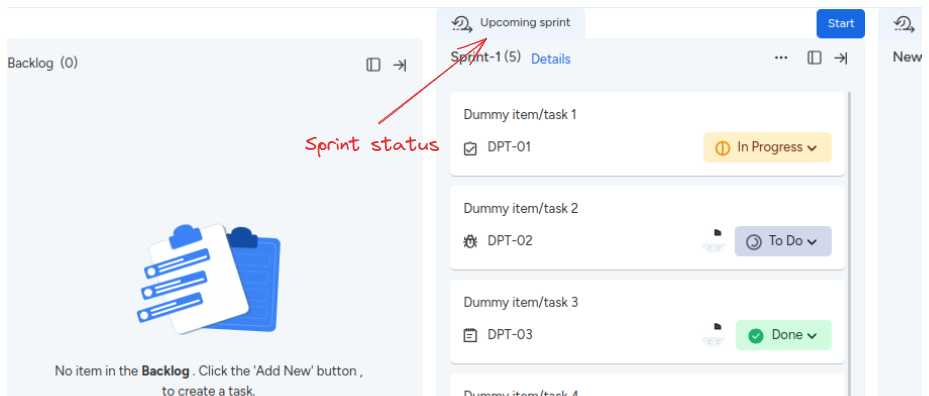
Start sprint
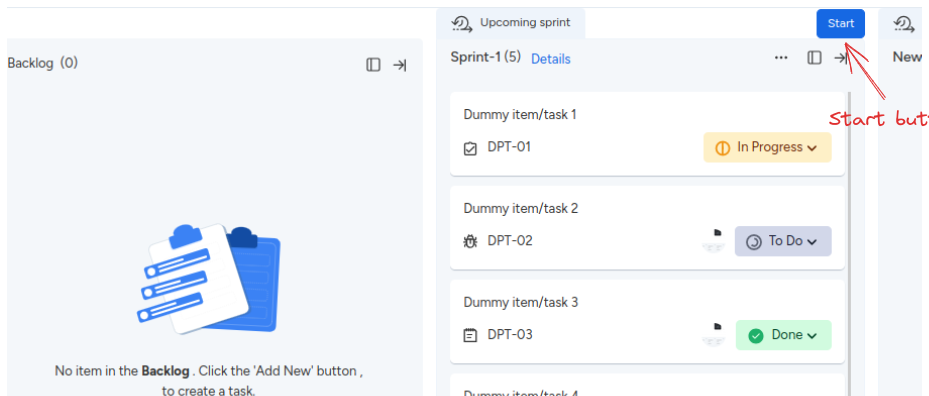
Initially, the sprint status is marked as “Upcoming sprint” since the sprint has yet to commence. However, if the sprint lacks any tasks, initiating it is not possible. To start the sprint, it’s essential for the sprint to contain at least one item or task.
To initiate the sprint, follow these steps:
Step 1 : Click the “Start” button.
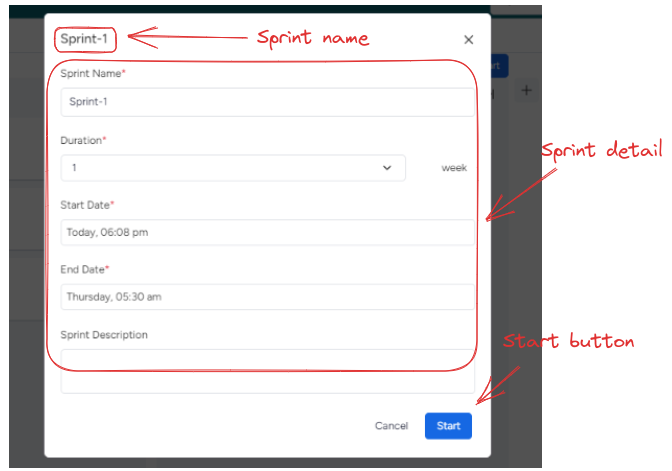
Step 2 : Once the “Start” button is clicked, a subsequent panel will emerge. Within this panel, you have the option to customize the sprint details before triggering the sprint by clicking the “Start” button.
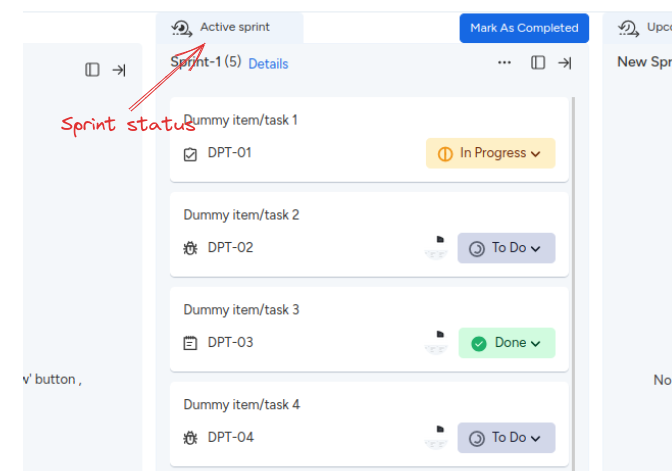
Congratulations! Your first sprint is now underway!
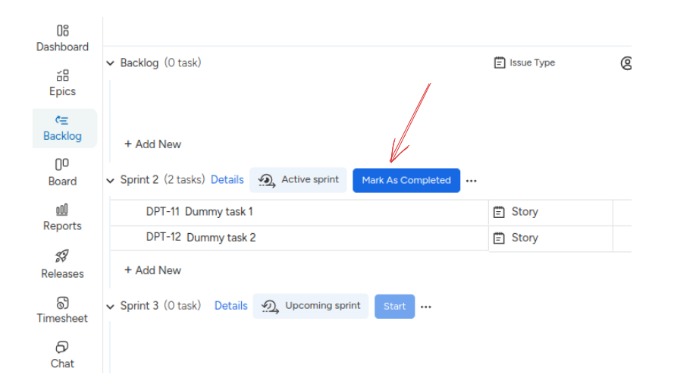
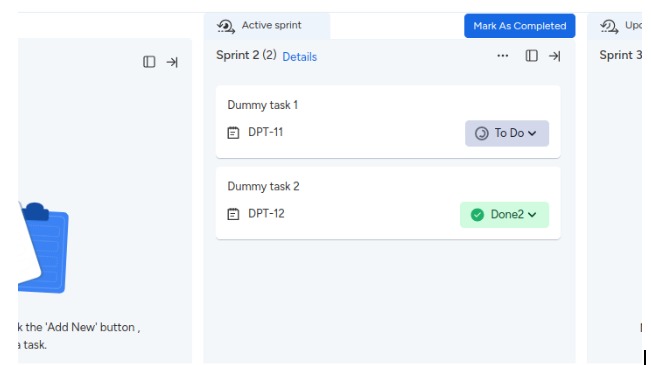
Once initiated, the sprint will transition automatically to the board screen. Returning to the backlog screen, you’ll notice the sprint status has changed to “Active sprint,” and the “Start” button has transformed into the “Mark As Completed” button, indicating that the sprint is now underway.
Sprint completion
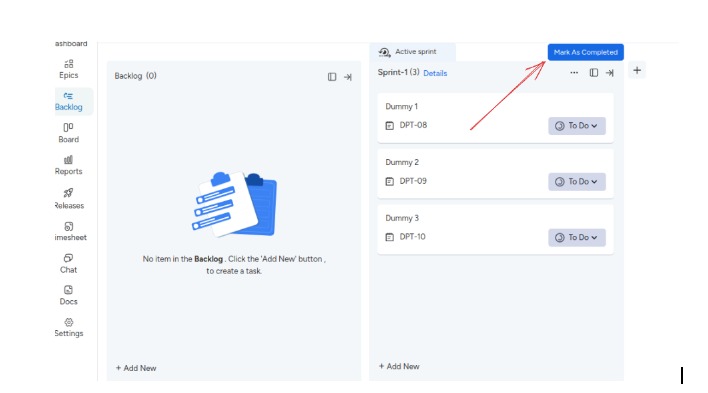
Sprinting completion is a seamless process that can be executed directly from the Backlog screen. Follow these steps to finalize a sprint:
Step 1: Click on the “Mark As Completed” button.
Step 2: A panel will appear, offering you several possibilities for completing the sprint:
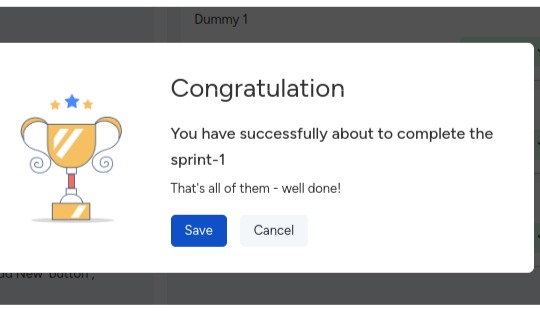
Possibility 1: All Items Done
If all items within the sprint are marked as done, the completion process is straightforward. The panel will display without any drop-down options. Simply click the “Save” button to successfully complete the sprint.
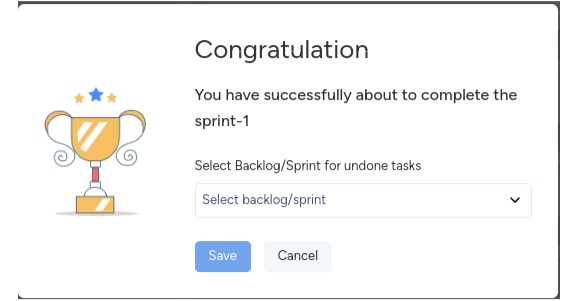
Possibility 2: No Items Done.
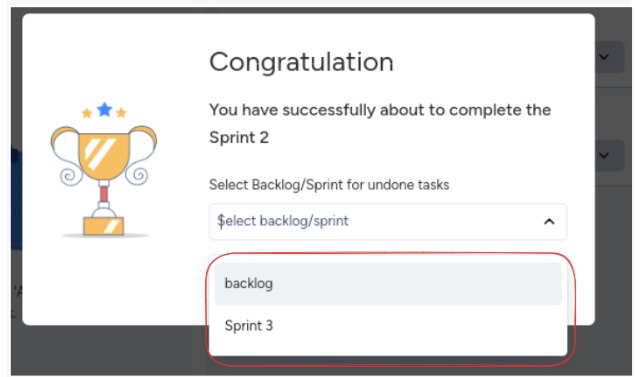
When none of the sprint items are marked as done, the panel will include a drop-down list presenting all available sprints and the backlog. You must choose one of these options to allocate undone tasks before completing the sprint.
Post-completion, the undone tasks will be visible in your selected location, either the backlog or the sprint.
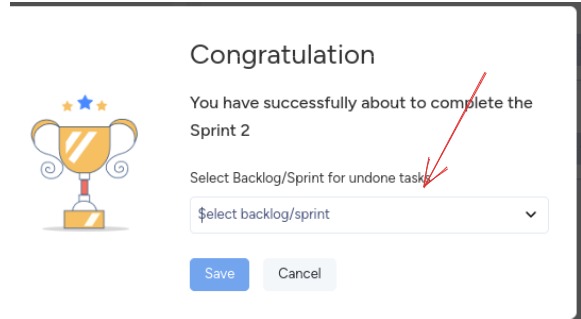
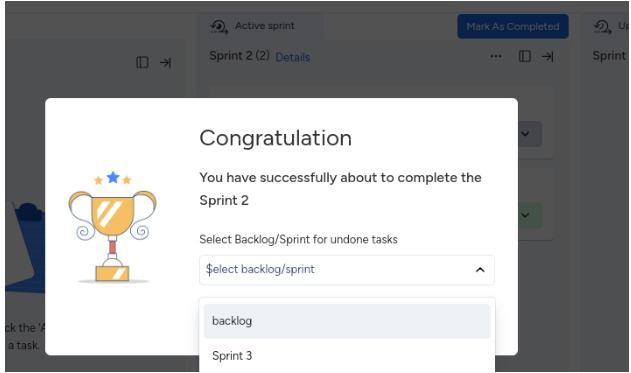
Possibility 3: Mixed Completion Status
For scenarios where some items are done while others remain unfinished, a similar panel will appear.
Upon clicking the “Mark as Complete” button, you’ll need to select an appropriate option from the panel. Following sprint completion, any remaining undone tasks will be relocated to your chosen destination – either the backlog or the sprint.
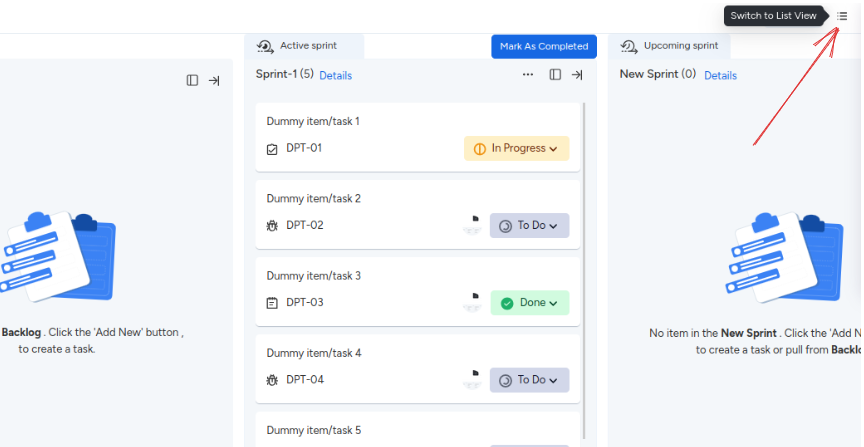
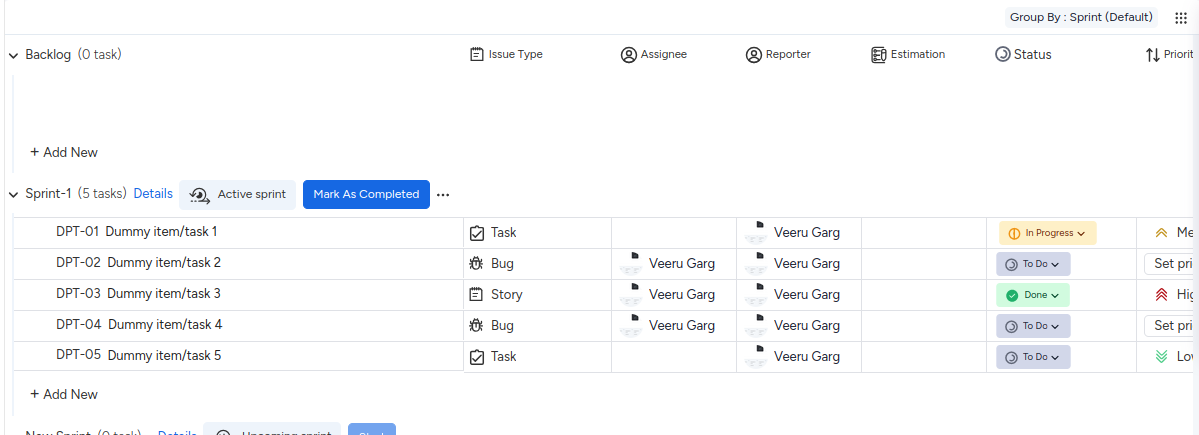
Sprint Completion in List View
The sprint completion option is also available in the list view of the backlog.