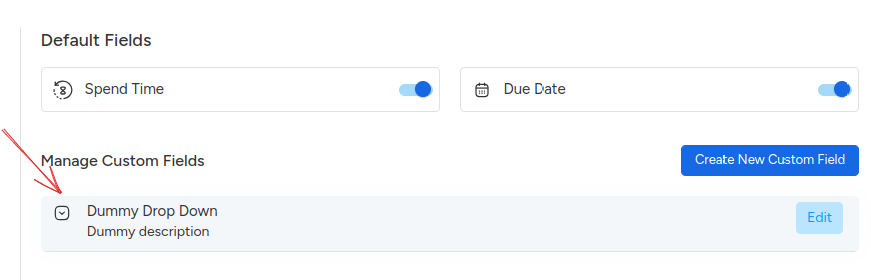
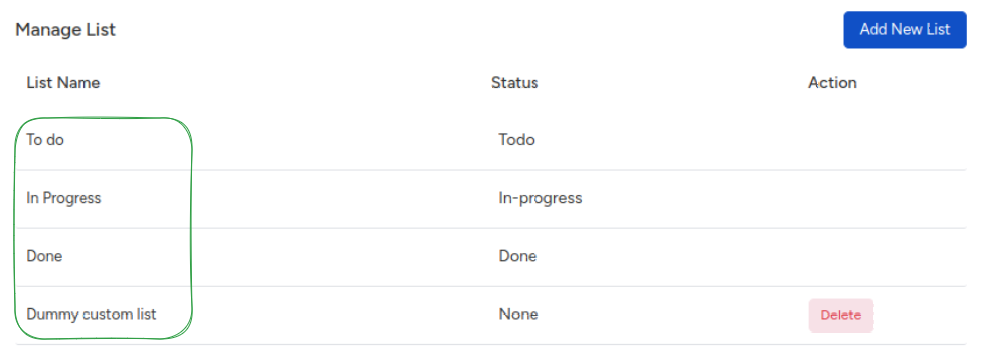
fbpx
kite-logo-svg

How can we help you?

Generic selectors
Exact matches only
Search in title
Search in content
Post Type Selectors

Project setting

The project setting is the same for all project templates. From the project setting screen, you can rename the project, you can manage the people, roles, and permissions, and many more things you can do in a project setting.
Project-setting
In the project setting screen, you can find the following 4 tabs:-
  • 1. Project Info
  • 2. Manage People
  • 3. Roles & Permissions
  • 4. Manage list
  • 5. Custom fields

Project Info

In the project settings, you can edit project details like the project name and lead. You can also delete the project. Here’s what you’ll find:
Project-Info
Project details
You can find the project name, project key, project type, owner, lead, and estimation type.
Project-details
Edit project
To edit a project, click on the edit icon in the project settings.
Project-details
You can make changes to:
Project Name
Modify the project name as needed.
Project key
You can’t edit the project key, you can set the project key as per requirement only while creating the project.
Project-name
Project lead
Assign a different project lead from the project members.
Estimation type
Change the project’s estimation type, either Fibonacci or custom. For more details on estimation types, refer to here</a ></u >.
Item serial number
Item-serial-number

Manage People

pending…

Roles & permissions

In the roles & permissions section, you can control project permissions based on project roles. You can enable or disable permissions using toggle buttons.
Roles-&-permissions
For more information about different types of roles and permissions, refer to here.

Manage List

Initially, you’ll see three standard status lists: “Todo,” “In Progress,” and “Done.”
Manage List
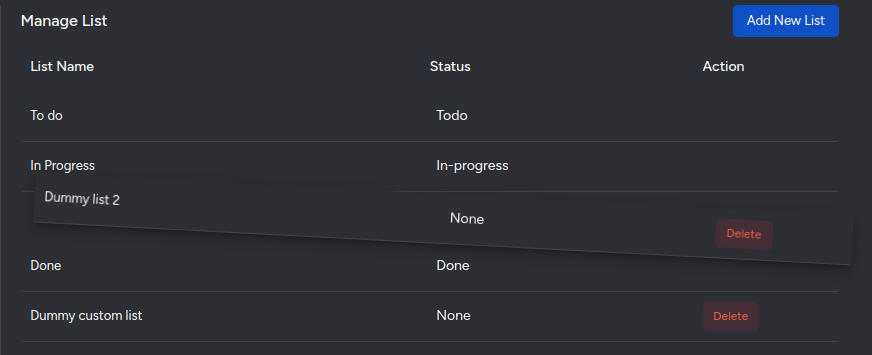
In the manage list screen, there are three columns:
List name
This is the name of the list that appears in various screens like task details, board screen, etc., wherever the status is displayed.
List-name
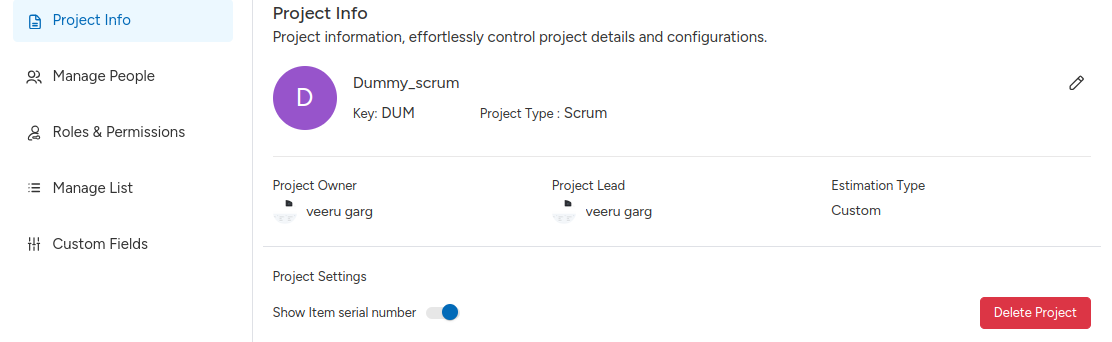
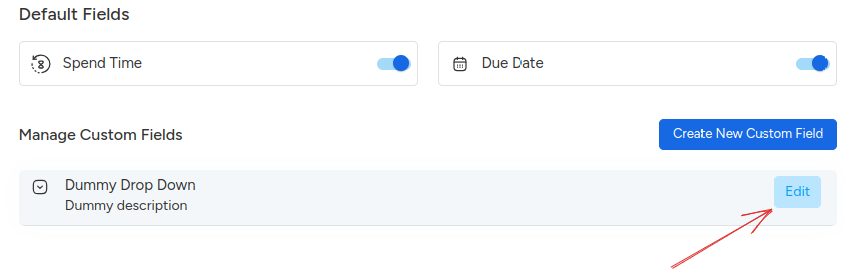
How to edit list name
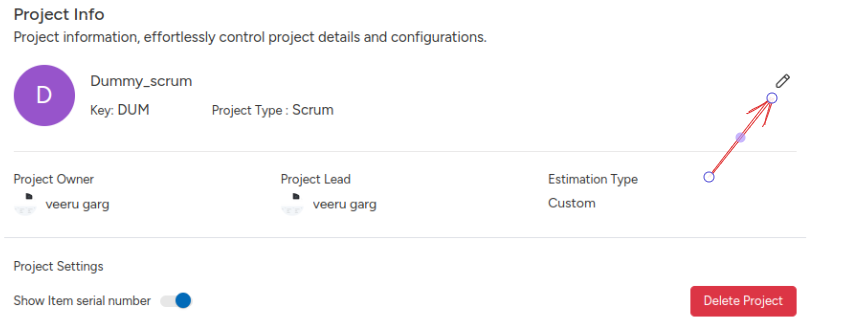
To change the list name, hover over it, and a pencil icon will appear.
edit list name
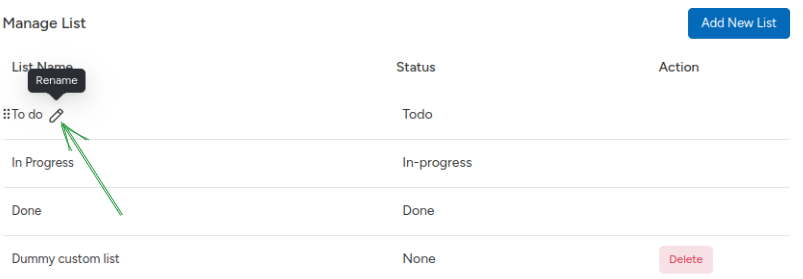
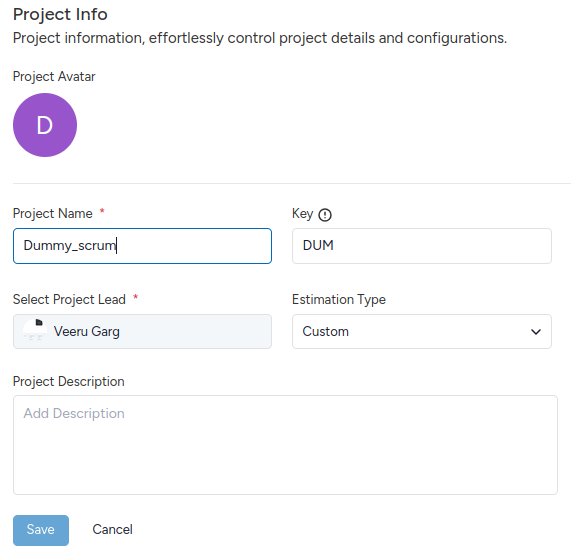
Click on that icon, and you can edit the text field.
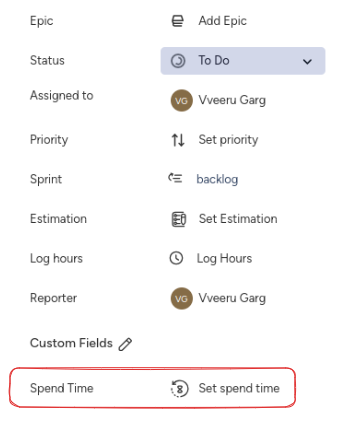
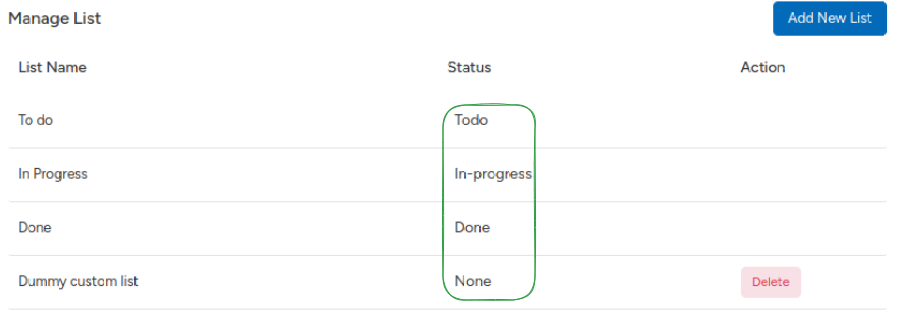
Status
This column displays the default list names such as Todo, In-progress, and Done. Todo is the starting point, Done is the ending point, and In-progress is in between. If you add any custom field, you’ll see the status as None. None means these fields are internally considered In progress.
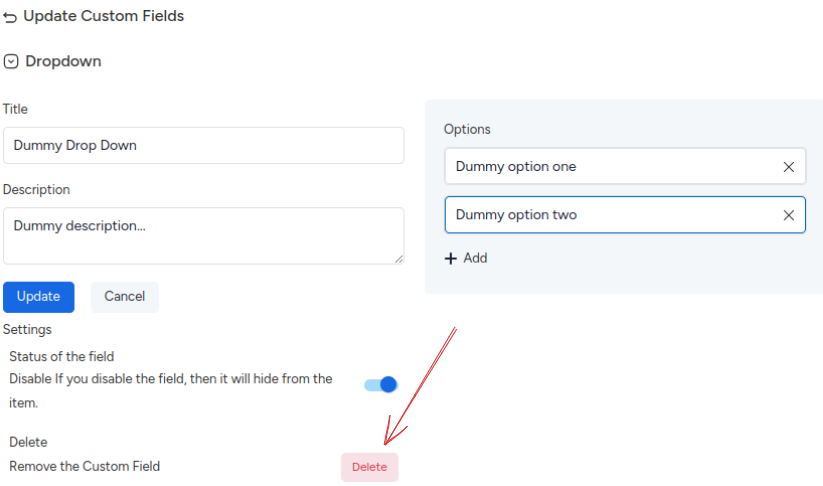
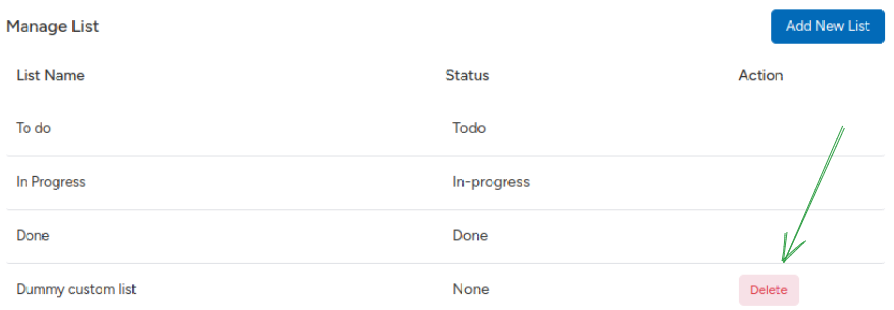
Status
Action
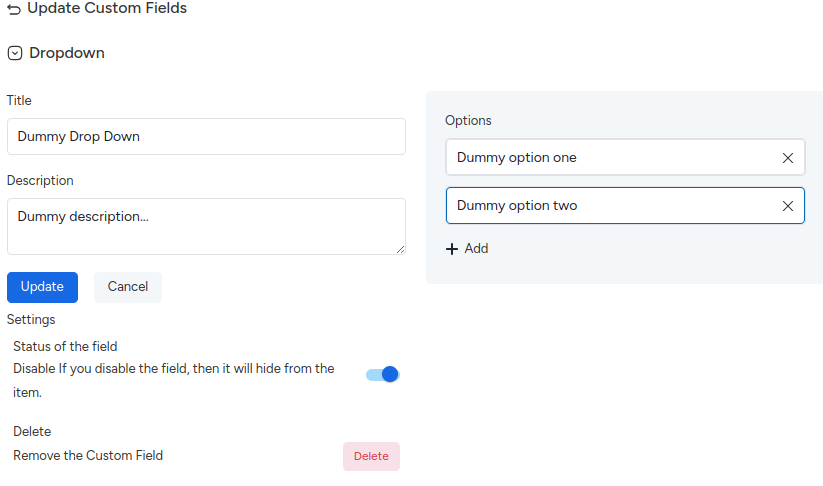
You can’t perform any actions to the default list, but you can delete the custom list. Suppose you have 3 items under the custom list, and you have deleted the custom list.
Action
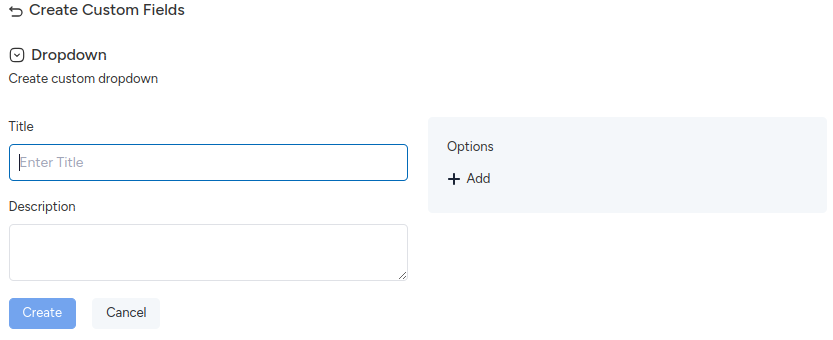
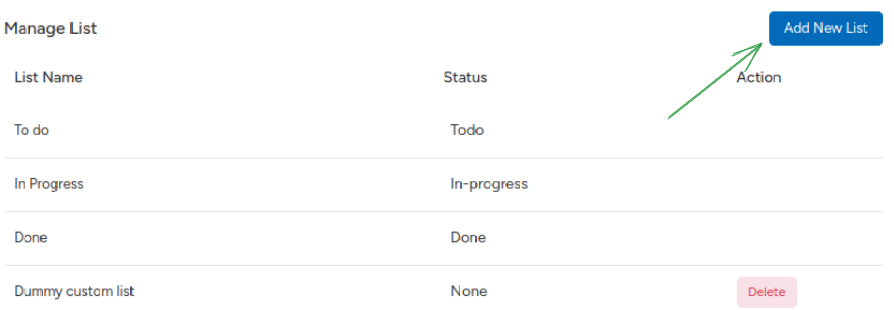
Create a Custom List
Step 1: Click “Add New List.”
Create-Custom-List
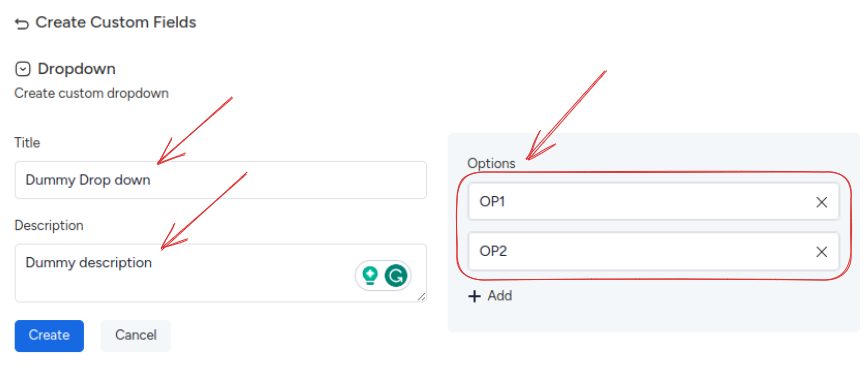
Step 2: Name your list. Click Save.
Create-Custom-List-popup
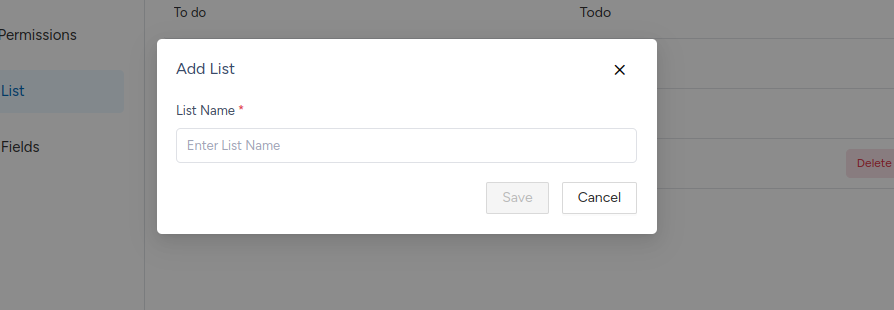
Your new list is now good to go.
Darg & drop
You can change the order of your lists by dragging and dropping them. Simply long-press a list, move it to where you want, and release it.
Darg & drop
Lists will be displayed everywhere in the order you set, like on the board screen and in status drop-down lists.

Custom fields

In the custom field, section you can manage the custom fields. KiteSuite provides you with two types

Custom fields

Default Custom Fields:

Spend time
To use this field, enable it through the toggle button.

Spend time

Once enabled, it will appear in the task detail screen’s custom field section.

custom field section

Due date
Similar to Spend Time, you can enable and use the Due Date field. Once enabled, it will appear in the task detail screen’s custom field section. The due date does not appear in the custom fields section in the case of the Business and Kanban template, because the

Due date

Custom fields limit
  • Rules for the usual category, covering all custom fields.

Category name Input Limit
Custom fields name (Title) 30 Char
Custom fields description 255 Char

  • Rules custom fields wise

Custom field Name Input limit
Dropdown -
Text field 255 Char
Number 16 digits (including decimal places)
Text Area 255 Char (Text in multiple lines)
Date -
Websiten -
Checkbox -
Email Provide an email that is correct.
Phone Based on Country
Currency -

Creating a New Custom Field:

You can create various types of custom fields like dropdowns, checkboxes, and text fields. Let’s walk through the process using the example of creating a Dropdown custom field:
Due date
Let’s walk through the process using the example of creating a Dropdown custom field:
Step 1: Click on the card view.
Due date
Step 2: Enter the name and options for the dropdown field. A description isn’t mandatory.
Due date
Step 3: Click the Create button after inputting the details.
Due date
Congratulations, the custom field is successfully created. You can check it in the manage custom fields section and in the task as well.
Congratulations
Edit custom fields
Step 1: Click on the edit button to access the editing view.
Congratulations
Step 2: Within the editing view, you have the flexibility to:
  • Edit the custom field’s title, description, options, and option values.
image74.png
  • Enable or disable the custom field based on your needs.
image205.png