fbpx
kite-logo-svg

How can we help you?

Generic selectors
Exact matches only
Search in title
Search in content
Post Type Selectors
 

Workspace

Think of a workspace as a digital container, much like a folder on your computer. Within this workspace, you have the flexibility to organize and manage multiple projects efficiently. It serves as a central hub where you can keep everything neatly arranged, making it easier to collaborate and stay organized across various tasks.
calendar
 
Workspace name & domain limitations
Category name User input
Workspace name
  • Alphanumeric values check
  • Min 3 & Max 30 words check
  • Multiple workspaces with same name check
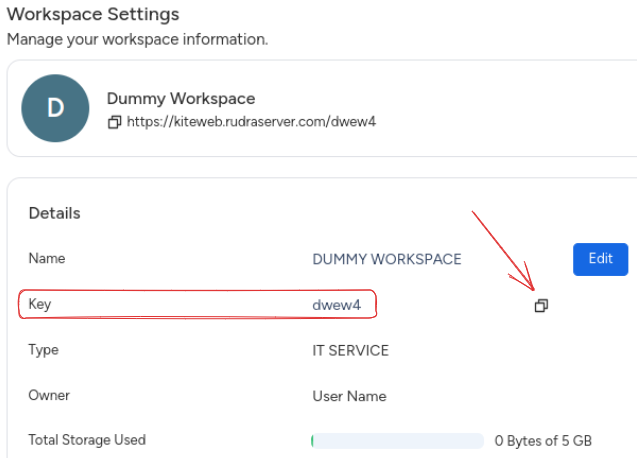
Workspace domain name
  • Alphanumeric values check
  • Min 3 & Max 20 words check
  • Multiple workspaces with same domain close

How to create a workspace

1st way
If you are a new user in the KiteSuite after successfully signing up, you can
reach out to the following screen.

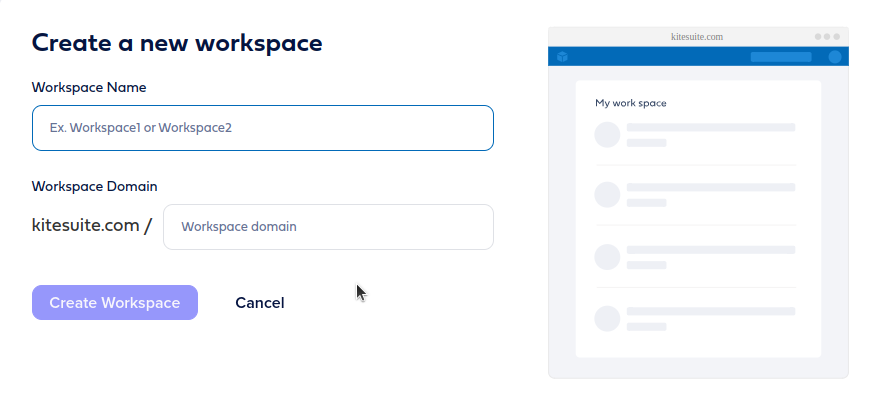
Step 1: Name Your Workspace: Give your workspace a name that
makes sense to you.

Step 2: Domain Name: A web address (domain name) will be made
automatically. You can change it if you like.

pasted-image
For example, if you named your workspace “Dummy Workspace” and the
domain is “dwew4”, your web address will be
“https://kiteweb.rudraserver.com/dwew4/”.
As per the above input, your URL would be
“https://kiteweb.rudraserver.com/dwew4/”.
link-image

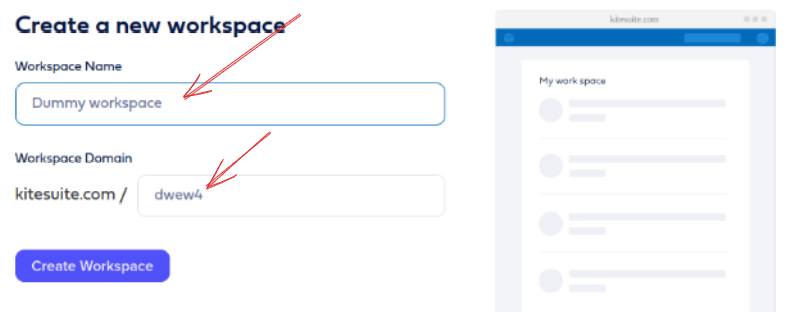
Step 3: Create Workspace: Click this button.

plan

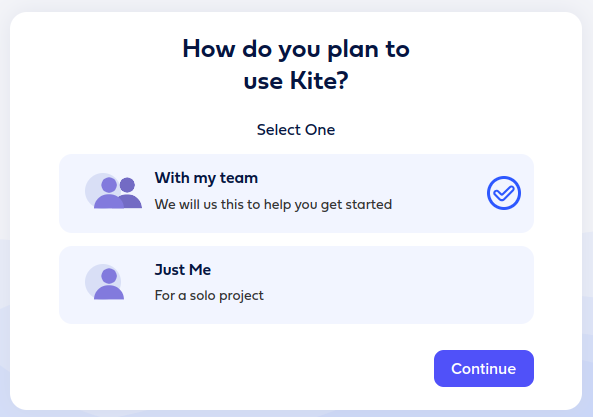
Step 4: Team or No Team: Now, you have two choices.

  • Invite Team Members: You can
    add people to your workspace
    right away.
  • Just Me: If you want to add members later, pick this one for now.
next

Step 5: Continue: Click the button.

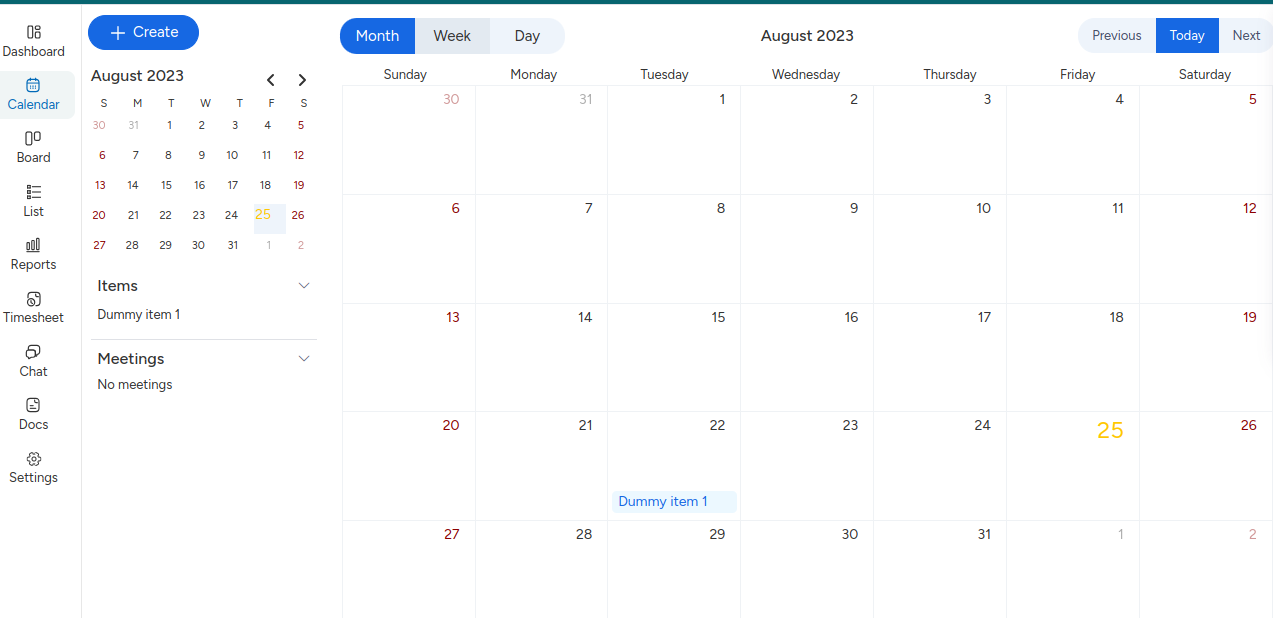
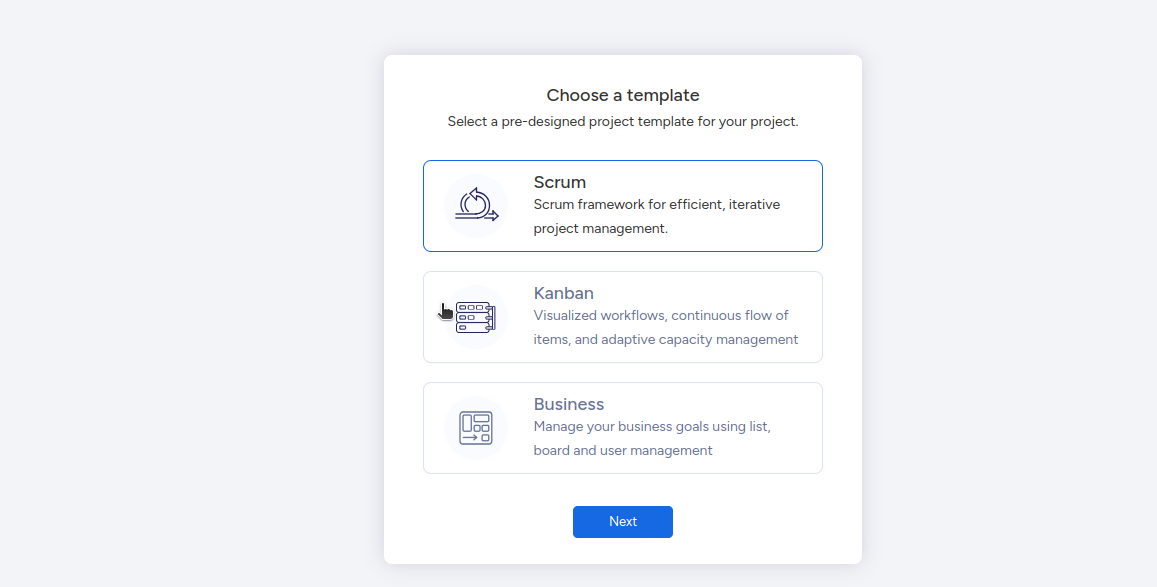
Step 6: Create a Project: You’ll get to a screen where you can
make your first project.

profile
That’s it! Your workspace is ready to go. Congratulations!
2st way
If you’re already in a workspace, you can create another one like this:

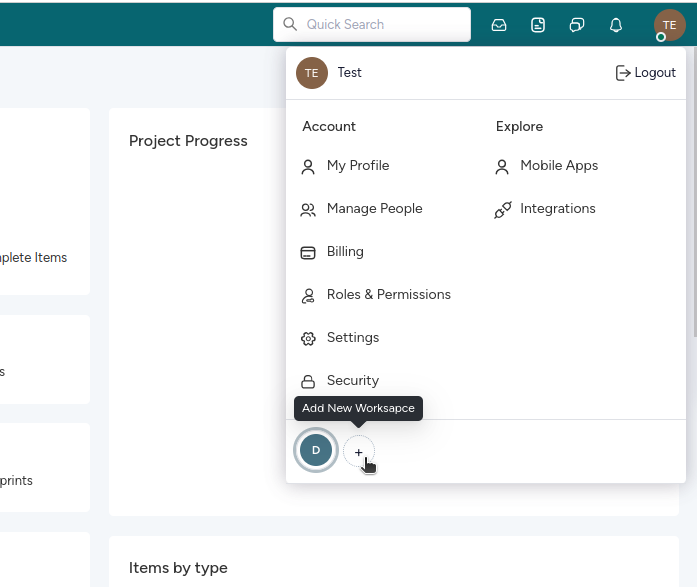
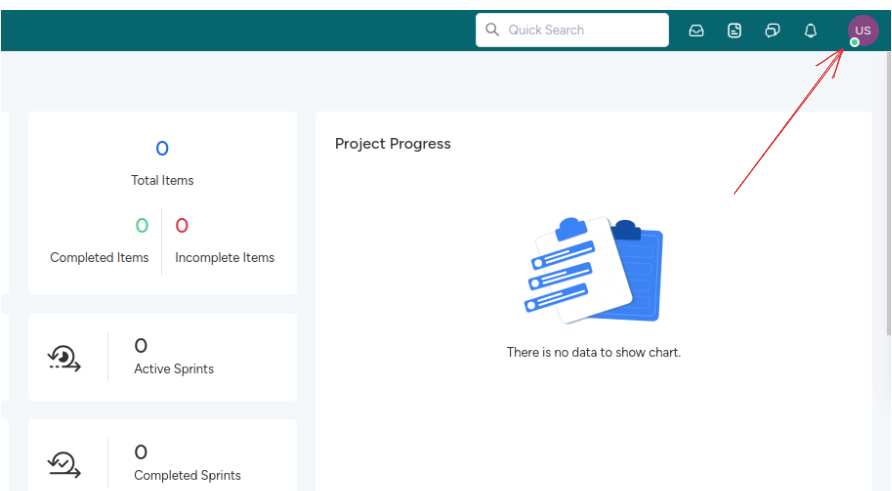
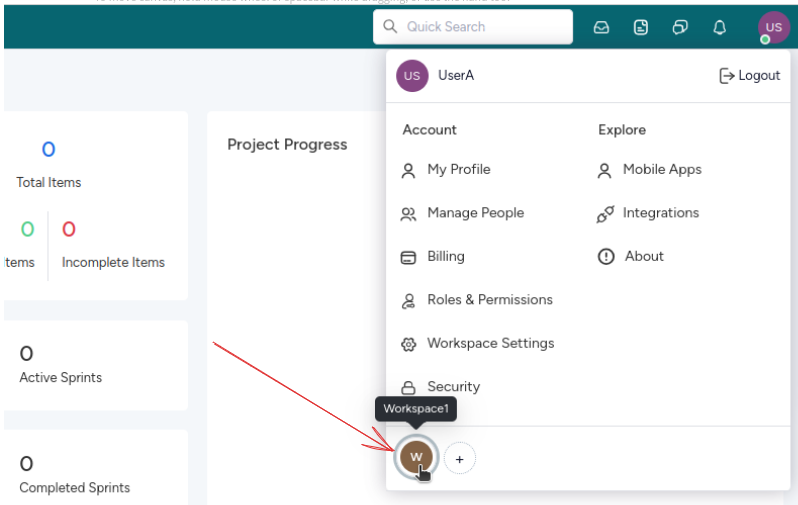
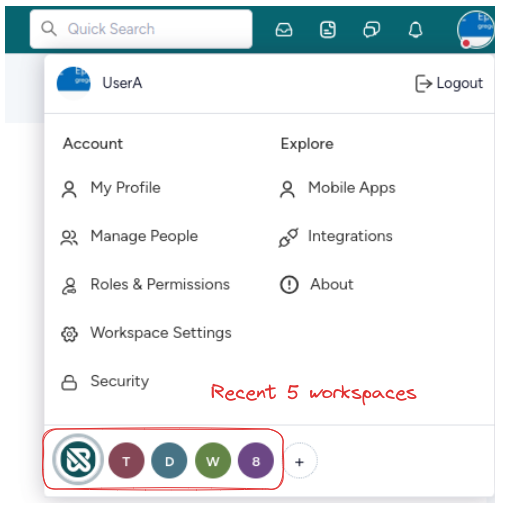
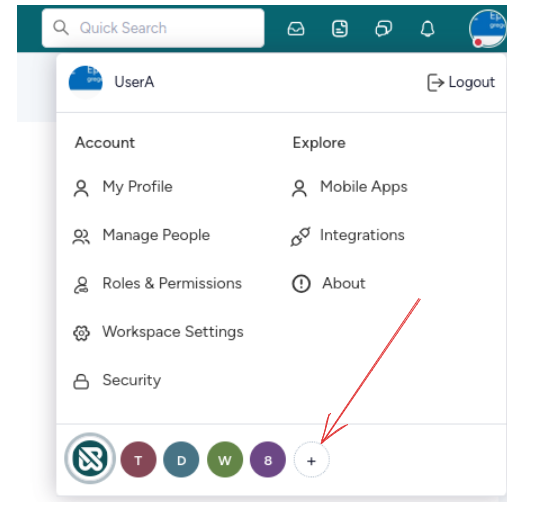
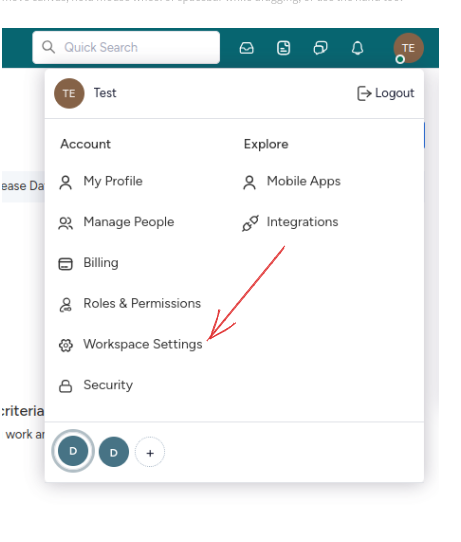
Step 1: Click on your profile, then the “+” icon.

profile

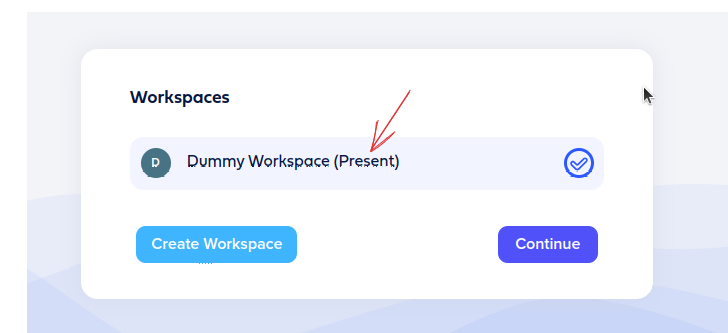
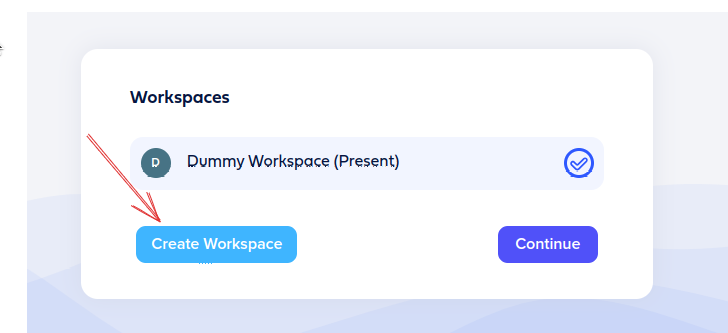
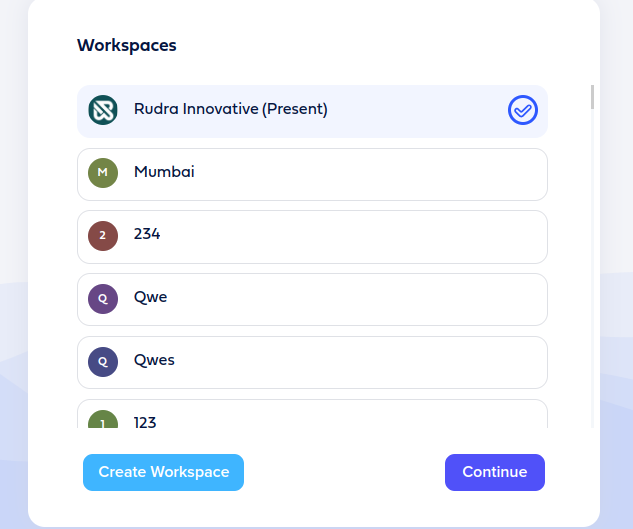
Step 2: The “Present” text represents the current workspace.
Click “Create Workspace”.

continue
create-workspace

Step 3: Follow the same steps as the
first way.

new-workspace
Congrats, you’ve made your workspace!


Switch to the workspace

KiteSuite offers a versatile feature that allows you to create and manage
multiple workspaces with ease. You can create as many workspaces as
needed and seamlessly switch between them using the following steps:
  • Clicking on your user profile icon.
switch-workspace
  • If you currently have only one workspace (let’s call it
    “Workspace1”), it will be the only one visible in the workspace
    panel.
workspace-pannel
  • When you
    create a second workspace, it
    automatically takes the first position in the list. This means that
    any previously created workspaces, such as “Workspace1,” will be
    moved last in the list. This reordering process continues as you
    create up to five workspaces.
  • In essence, if you create five workspaces one after another, the
    most recently created workspace, which would be the fifth one, will
    be displayed at the first of the list. Meanwhile, the first
    workspace you created will be pushed to the last. This dynamic
    arrangement ensures that your most actively used workspaces are
    easily accessible at the beginning of your workspace list.
workspace-2
  • In your profile’s workspace list, you’ll find that only the most
    recent five workspaces are visible at any given time.
recent-workspace
You can effortlessly switch between workspaces by simply clicking on the
workspace you want to access.
  • To switch to a workspace that isn’t in the recent list, simply click
    on the plus icon. This will open up a menu displaying all your
    workspaces.
add-new-workspace
From this list, you can select the specific workspace you want to switch
to, allowing for seamless navigation between your various workspaces.
present-workspace
  • You have the flexibility to be actively engaged in multiple
    workspaces simultaneously. There are no restrictions that require
    you to focus on just one workspace at a time. You can freely access
    and work within multiple workspaces according to your needs and
    preferences.

Workspace setting

 
In the workspace settings, you can find all the important details about
your workspace. This includes the workspace name, owner, and other
information. Let’s break it down:
Workspace detail
To access your workspace details, Click on the profile -> click on the
“Workspace Setting” button. On this page, you’ll see:
workspace-setting
Workspace name
This is the name of your workspace.
dummy-workspace
Workspace key
You can find and copy the workspace key.
coppy-key
Type & Owner
Check the type of workspace and who the owner is.This type is set within
the signup flow.
coppy-key
Total storage
See how much storage space your workspace has. The amount depends on
your subscription plan.
total-storage
What the KiteSuite is considered in storage
In KiteSuite, “storage” includes all the files and attachments you add. This
means anything you upload, whether it’s in an item, an item comment, a
document section, or a chat (project or individual), takes up storage
space.
Each attachment can be as big as 250 MB, regardless of your subscription
plan. So, if you’ve uploaded 10 files, your storage is calculated as 10
files multiplied by 250 MB each.
In short, whenever you put something in KiteSuite, it uses up your storage
space, and each attachment can be up to 250 MB in size, no matter your
plan.

Rename the workspace

You can also change your workspace’s name from the workspace settings page.

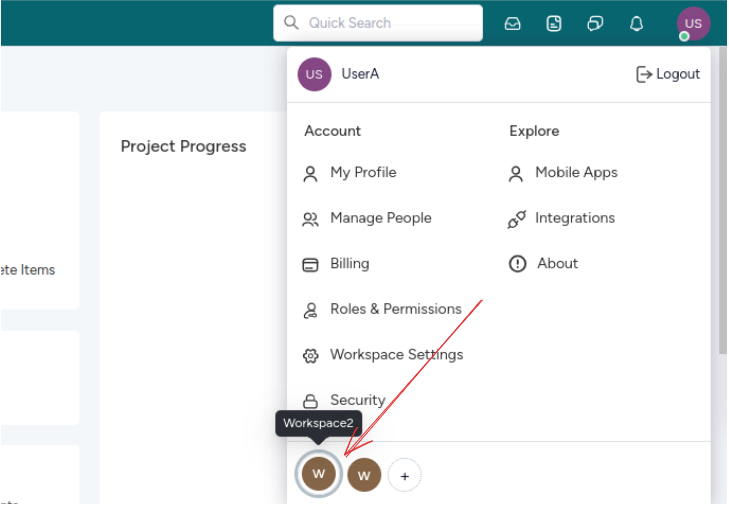
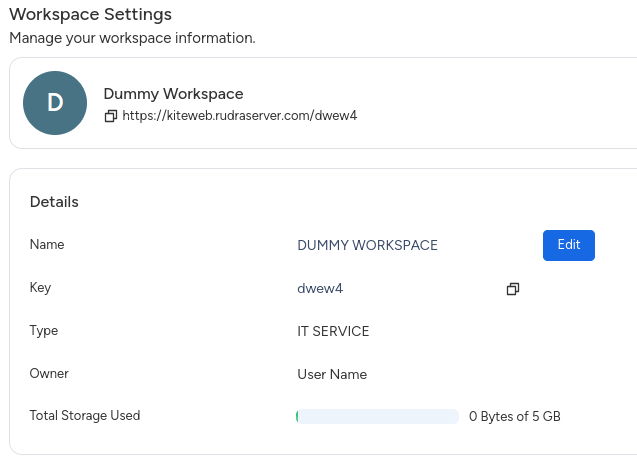
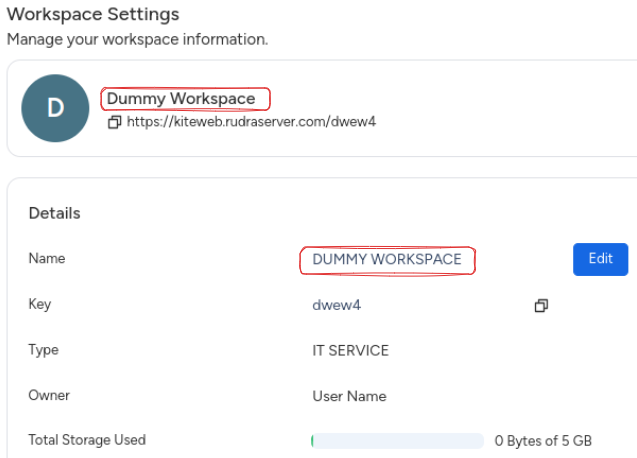
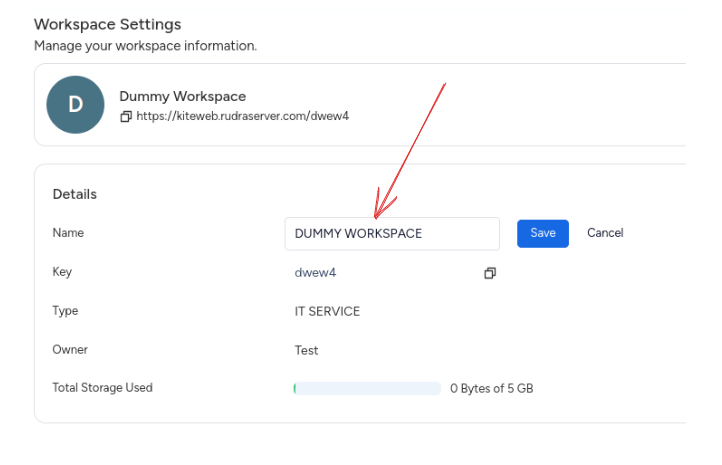
Step 1: Click on the profile -> click on the “Workspace Setting” button.

edit-workspace

Step 2: Click “Edit.”

edit-workspace

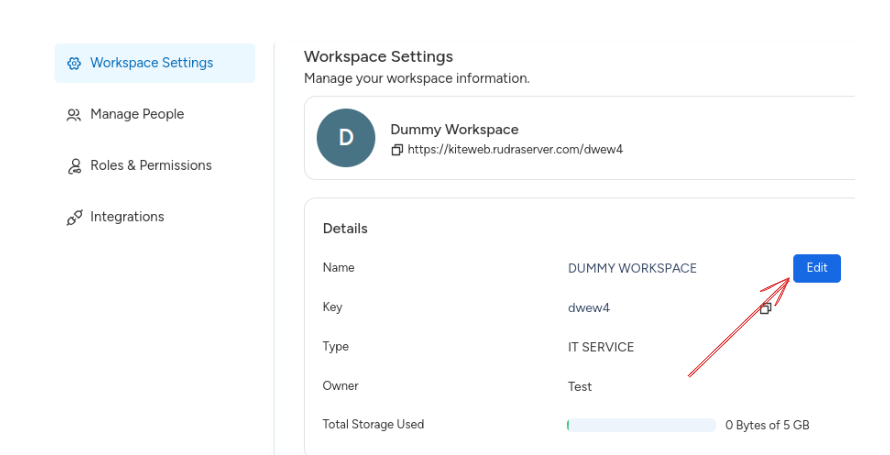
Step 3: Change the workspace name. Click “Save.”

workspacename